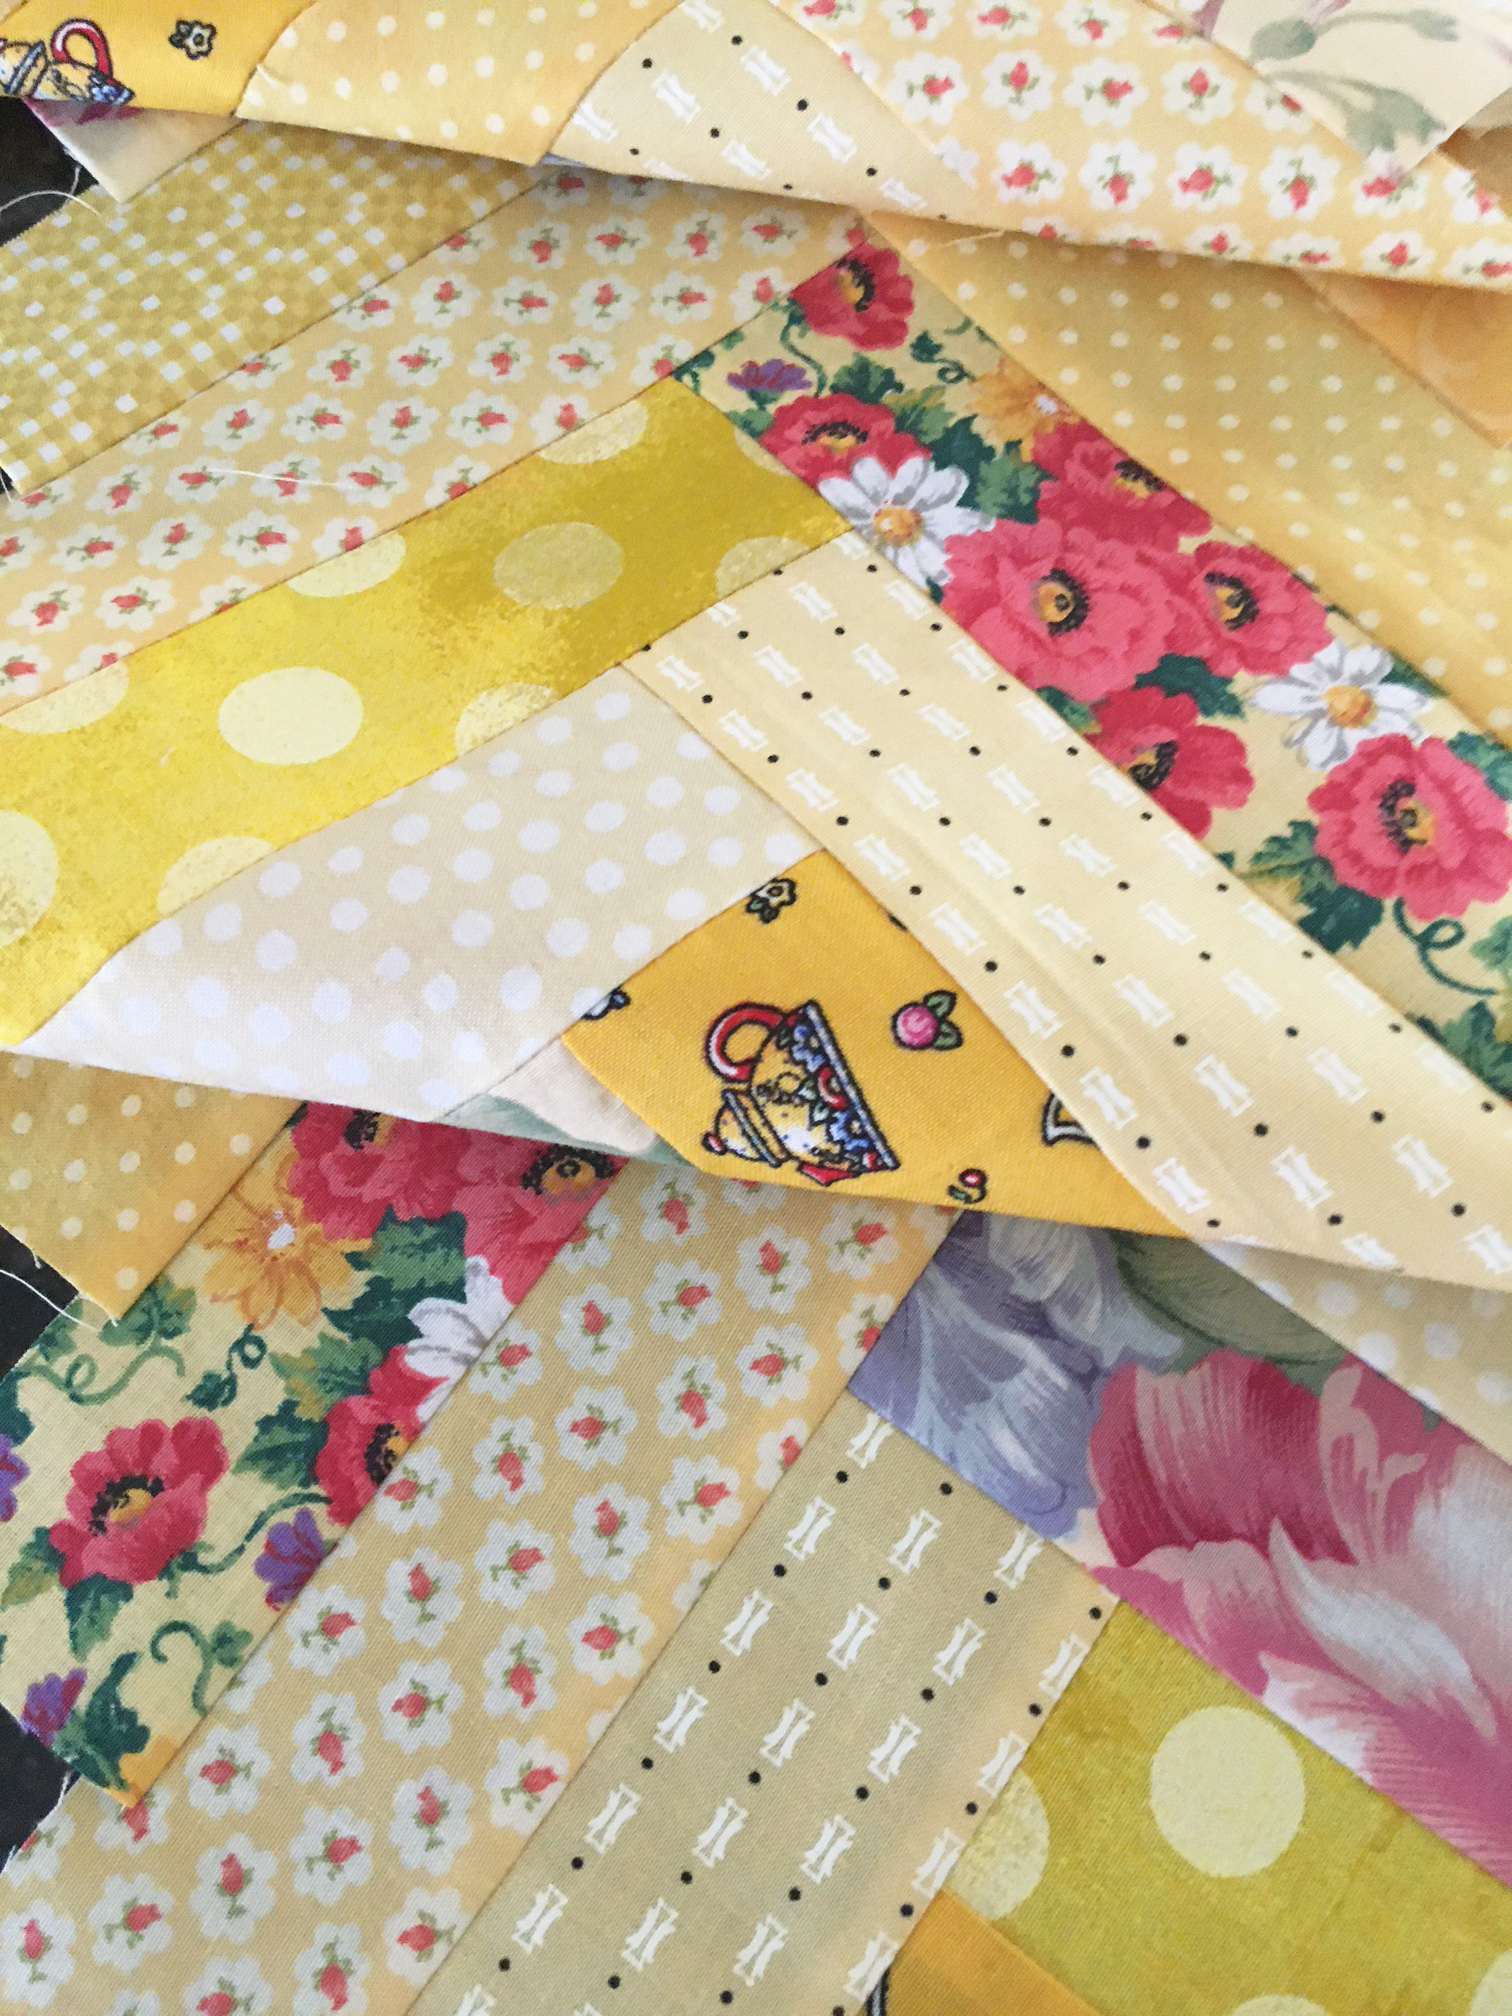
I didn't know what else to call this quilt so I'm calling it
Lozenges. Boring, I know, but I recently saw that name used for the block on Pinterest, so that's what I am going with.
To be honest, I had a little lunch bag letdown with this one after it was started, which surprised me because the blue accent fabric is beautiful, almost a deep periwinkle; but it was looking pretty drab down in the sewing cave. That lighting wasn't doing it any favours.
After bringing it up into the natural light everything changed. All of the colours just came to life and once it was pressed I was impressed. So happy because I did enjoy making it and there's nothing worse than finishing a flimsy and all you feel is 'meh'.
I hit a bit of a slow patch trying to figure out the sizes for the border pieces. In the end, I just made more full blocks and then trimmed them half the size of the block plus a seam allowance. So much quicker, and it was a much better finish (you can see how the blue one in the upper right is starting to do it's own thing...
Trimming was a breeze,
and there was much less waste than I had imagined, so that was a bonus.
And, I was thrilled to have just enough blue for a narrow border, similar to my inspiration photo. I did lots of calcs before making the first cut because my piece was only about 16" x 39" and I wanted that border to be as wide as possible. It's cut at 2.75" so it will finish off at 2.25", which will be nice. A border will also help corral all of those bias edges. So, with the exception of a 2" strip, that piece is all used up.
I took a look through the rest of the fabrics to see if there was enough for a binding and again the remnant gods were shining on me. This one always reminds me of olives for some reason. It was just slightly larger than the blue remnant so I cut the entire thing up into binding to send along to QFS with the flimsy. Another piece leaves the stash.
If I hadn't been fretting over whether or not I had enough of the blue to make this quilt work it would have been a fun quilt to make because it really did come together nicely. Another time I would ensure that I have lots of the main colour.
I am still thinking that I need to try making a table runner for the Holly Bazaar using this pattern, but with a smaller block, so I will look forward to that....M