Wednesday, November 22, 2023

Pretty In Pink

A second skinny border made it to the Holly Bazaar sewing list, this time in a table topper.

There was a small, almost square piece of this pretty fabric in my stash. Love it, and have been trying to find a way to use it, but I was having just the hardest time finding anything to match it with because my Christmas prints lean to the traditional reds and greens.

To let the anchor print shine, I decided to keep things simple and create borders around a centre panel. How about a little cream and gold?

Two golds were in the running for the narrow border and I went with the one on the right. It looks light in this photo but when paired with the cream text print shown above it was the right choice.

The piece was almost 21" square so not a lot to play with, which meant that I had to be very exact about my cuts so as to have all of my borders work. The cutting gods were on my side.

Roberta used my favourite feathered swirl panto to quilt it. LUV.

The darker gold for the binding just mixed things up a bit. Either of the golds would have worked, but this just added a little interest.
It's very pretty and those golden tones really suit the evergreen print. If I had this colour scheme in my house it wouldn't have made it out the door, but someone else will enjoy it....M 

Friday, November 17, 2023

Oh My Stars 2.0

Since deciding that the first Oh My Stars table runner was staying with me I had to make a replacement. After all, if the gals at the bazaar were to make any money on these items I had to stop squirrelling them away for myself, right?

So I pulled out a little bundle of fat quarters that were sort of a 'mistake' online order a while back. Nice, but not really the Christmas colours that I usually gravitate towards and I had bought them with the intent of using them for the bazaar so no point having them sit in the stash forever, right?

The evergreen border required some thinking as to what to do with the colours in the stars. I ended up with snowflake centres and a little white on white polka dot for the points, so from a distance they read all white, giving me lots of contrast between the them and the borders.

And I also wanted continuous borders for this one to let that green print really shine so my math skills were put to the test. With just one small join I managed to swing it.

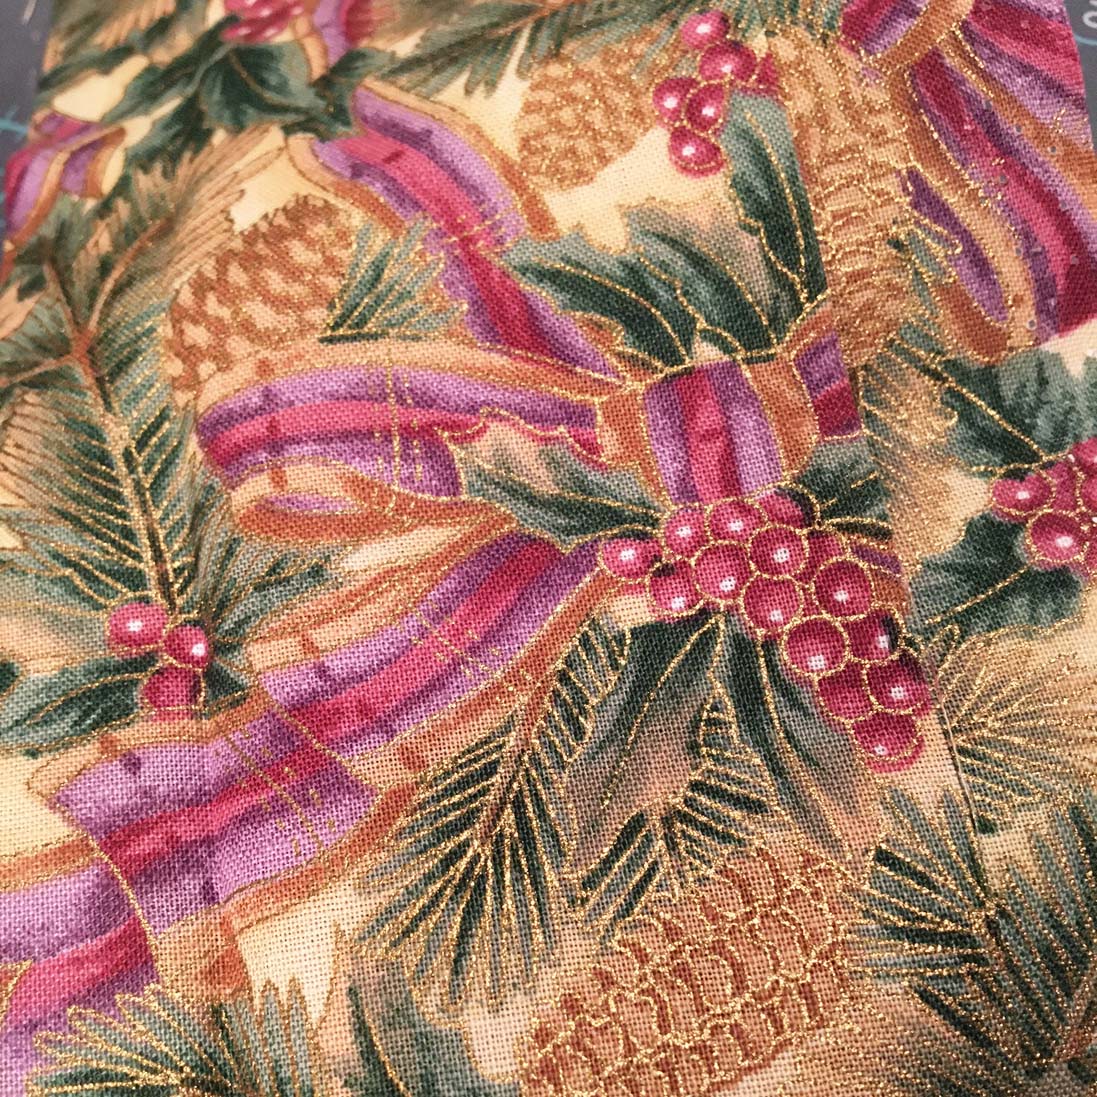
This is all that I had left of the evergreen print at the end of the day.

It is quilted with a stylized snowflake pattern and swirls...

which resembles flakes that are scattered throughout a few of the prints.

When I found this check in my stash I just knew it was going to be the binding.

Most of the runners that I made this year had the same backing, this beautiful stylized paisley that I was able to get through Roberta. Those tiny pops of colour scattered throughout are very Christmassy and the cream was neutral enough to work with just about anything.

I have to say that this fabric bundle proved to be a teaching moment for me. It wasn't until everything came together in the end that I was convinced about the border fabric was going to work as well as the lighter option that I had chosen for the first runner, but it did. Note to self...M


Sunday, November 12, 2023

Oh My Stars

When I stumbled across a Pat Sloan runner pattern called Oh My Stars I knew that I'd be making one for the Holly Bazaar. The pattern is free and works up very quickly, so if you are keen to knock of a Christmas runner before St. Nick arrives this would be a great way to do it.

It's a variation on a quilt that she designed by the same name and it integrates one of my go-to star blocks with lots of scrappy goodness. Just love making these stars!

I needed three squares from the same fabric for the star centres and (pardon the pun) the star aligned. I found three, and only three in my box of remnants.

Most of the squares that I used came from that remnant box as well, so it didn't take much additional cutting.

Once everything was laid out assembly was a piece of cake.


I've seen this block sewn three or four in a row and it makes for a very nice runner, but I really love the way that these stars jut out into the border - so much more interesting. The borders called for straight runs of fabric in areas that weren't part of a star, but that was going to look a little odd given the text print that I was using so I opted to construct the borders from squares instead, which allowed me to mix up the orientation of each, and I like the look.

As it turns out, I couldn't bring myself to give this one away, so it's not yet quilted. But some day it will be, and it will be for me....M 

Tuesday, November 07, 2023

Driving On The Left

I've been held captive by my oven for the last two days baking for the Holly Bazaar and realized that I haven't shared the items that I've sewn for the craft table with you, so here's a start. A few lousy weather days back in September was all that I needed to get most of the items together and off to Roberta for quilting which saved me from lots of last minute binding.

There were two prints in my holiday stash that I've been trying to use for the last couple of years and haven't had any success, so I resolved that this was going to be their year. This navy Christmas deco piece - so dark that it's almost black - was the first one that I tackled.


I opted for a simple gold poinsettia and holly centre panel bordered on all sides with the decoration print to really let them shine, and spruced it up a bit with a narrow border. The piece of green that I found to work with was even smaller than the blue print, but there was just enough. 

At a quarter of an inch wide it's easy to make a mess of it, but with the proper technique it's easy peasy and always gives a nice finish.

Cut a 3/4" strip and pin it to your runner/quilt, right sides together, raw edges matching, as you would normally join two pieces; sew a 1/4" seam. Press towards the runner so that the border lays flat because you'll want to be able to see your seam for the next step. 

With the wrong side facing up, pin the next border, right sides together, raw edges aligned. Now, instead of lining up the raw edges with the right edge of your pressure foot like you usually do, line up the LEFT edge of your foot with the seam that you have just sewn (a.k.a. driving on the left) and sew your seam.
Ta da! Your second seam is an even distance from your first. 

Press towards the second border, and that's it!

At 16" x 48" this runner is a good size and will make a nice impact on someone's table.

Jingle Bells seemed like the perfect panto to quilt this with and I bound it with the same blue print and the outer border so as not to detract from the simplicity of the layout. Finally, this fabric has found it's purpose!....M


Friday, November 03, 2023

And Sew It Goes

The Holly Bazaar is looming large (next week!) but I just had to play with a few more leaves.

Another great Kaffe print to the rescue in those centre squares.


Batch processing proved to be a good idea, letting me easily play with lots of different combinations.


I introduced a couple of caramel colours but I'm thinking that this block would also be fun to try with batiks, similar to what I did in this tutorial with a different pattern.

And I'm thinking that this is where I'm headed for a layout. You can see how the yellows in the upper left block aren't nearly as interesting as those with the Kaffe prints in the centre so there will be some switching up before this becomes a topper.

There are now six blocks so the hope is that I'll be organized enough to make two into potholders and put them on the bazaar craft table along with the runners that I've made. It's a 7" block, so the size is perfect...M

Wednesday, November 01, 2023

Pumpkin Spice Is A Little Addictive

Okay, so twice this week this is what we've woken up to. Not the most autumnal colours now, are they? Well, outdoors at least. 

Happily, the leaves are still falling indoors, and are proving to be a little difficult to pull myself away from (Roberta is a bad influence.)


My initial fabric pull reinforced that I have a lot of fabrics that read like solids, but the colourful Kaffe fabric that I used in the block above introduced mauve and blue, saving the day by adding both colour and texture. SO much better. I got the inspiration from the photo on the pattern and couldn't believe that I was lucky enough to have some in my stash.

Once I got started it was clear that one block was not going to be nearly enough. Happily, a little more digging produced a little more texture....M